Designer DIY with Yves Béhar
Learn how to make this award-winning pendant lamp as seen at Milan's Salone del Mobile
Most of the plans in our new book Do It Yourself, show you how to make home furnishing fit for a design gallery at a fraction of the price. However, while all of the inclusions pay homage to earlier designs, few recreate an existing high-end product.
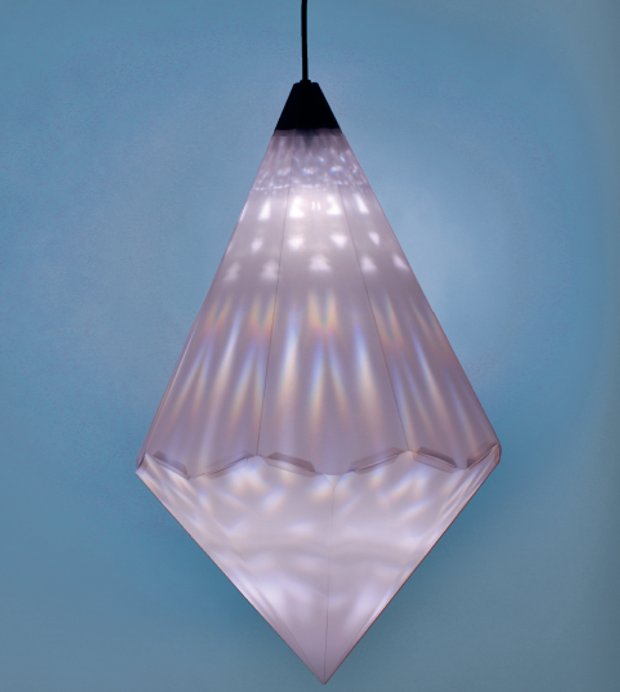
Amplify by the Swiss designer Yves Béhar is distinct in this respect, as Béhar actually produced this crystalline pendant lamp for Swarovski back in 2010. This award-winning lamp, which made its debut at Milan's Salone del Mobile, uses just one single crystal to achieve its chandelier-like light.
“It is a pursuit in our work to try to achieve the maximum effect with the minimum amount of materials and energy,” the designer says, “designing consciously and conscientiously, while still maintaining an element of beauty.” Here's how you can recreate Béhar's beautiful light.
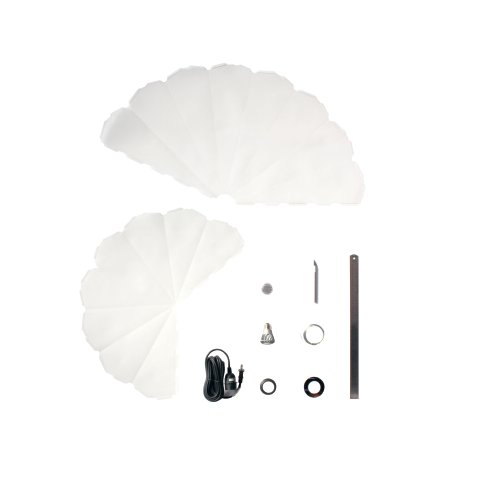
What you need
Thick, translucent paper stock; cutter; large ruler; bulb socket, with chord, plug and fastening ring; cardboard ring for attaching crystal; LED bulb; crystal; flexible wire.
Instructions
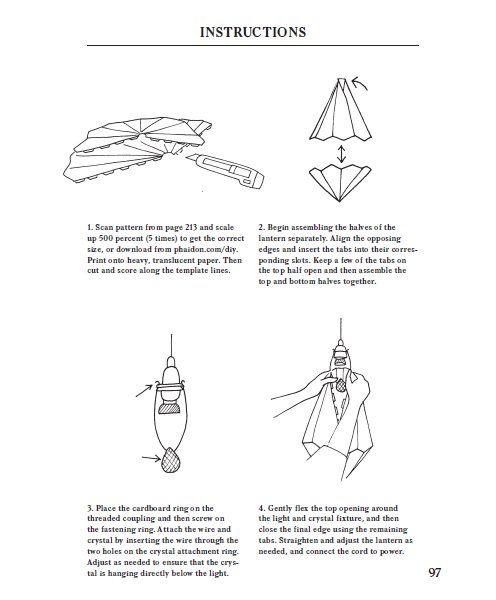
Download pattern here. Print onto heavy paper. Than cut and score along the template lines.
Begin assembling the halves of the lantern separately. Align the opposing edges and insert the tabs into their corresponding slots. Keep a few of the tabs on the top half open and then assemble the top and bottom halves together.
Place the cardboard ring on the threaded coupling and then screw on the fastening ring. Attach the wire and crystal by inserting the wire through the two holes on the crystal attachment ring. Adjust as needed to ensure that the crystal is hanging directly below the light.
Gently flex the top opening around the light and crystal fixture, and then close the final edge using the remaining tabs. Straighten and adjust the lantern as needed, and connect the cord to power.
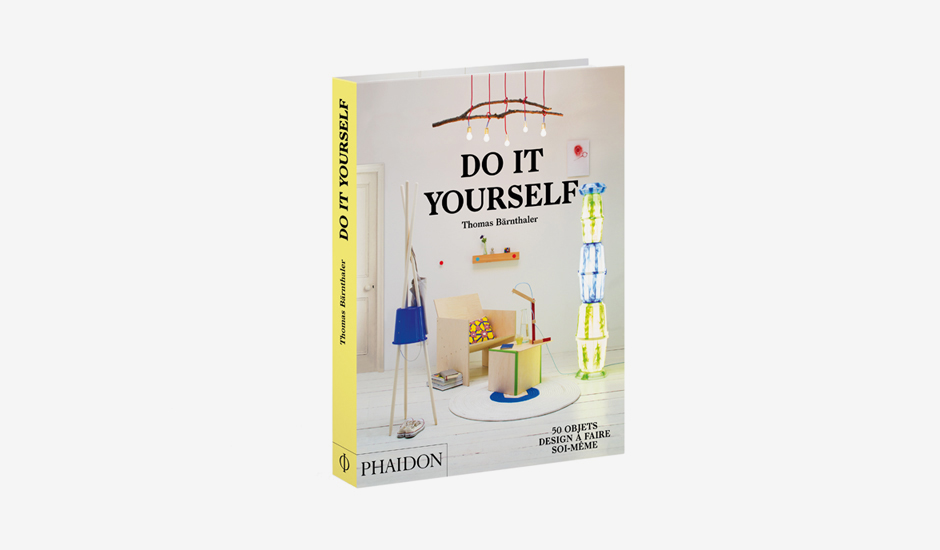
For greater detail on this design and many more works by such designers and artists as Konstantin Grcic, Ai Weiwei, Hella Jongerius and John Baldessari buy a copy of Do It Yourself here.